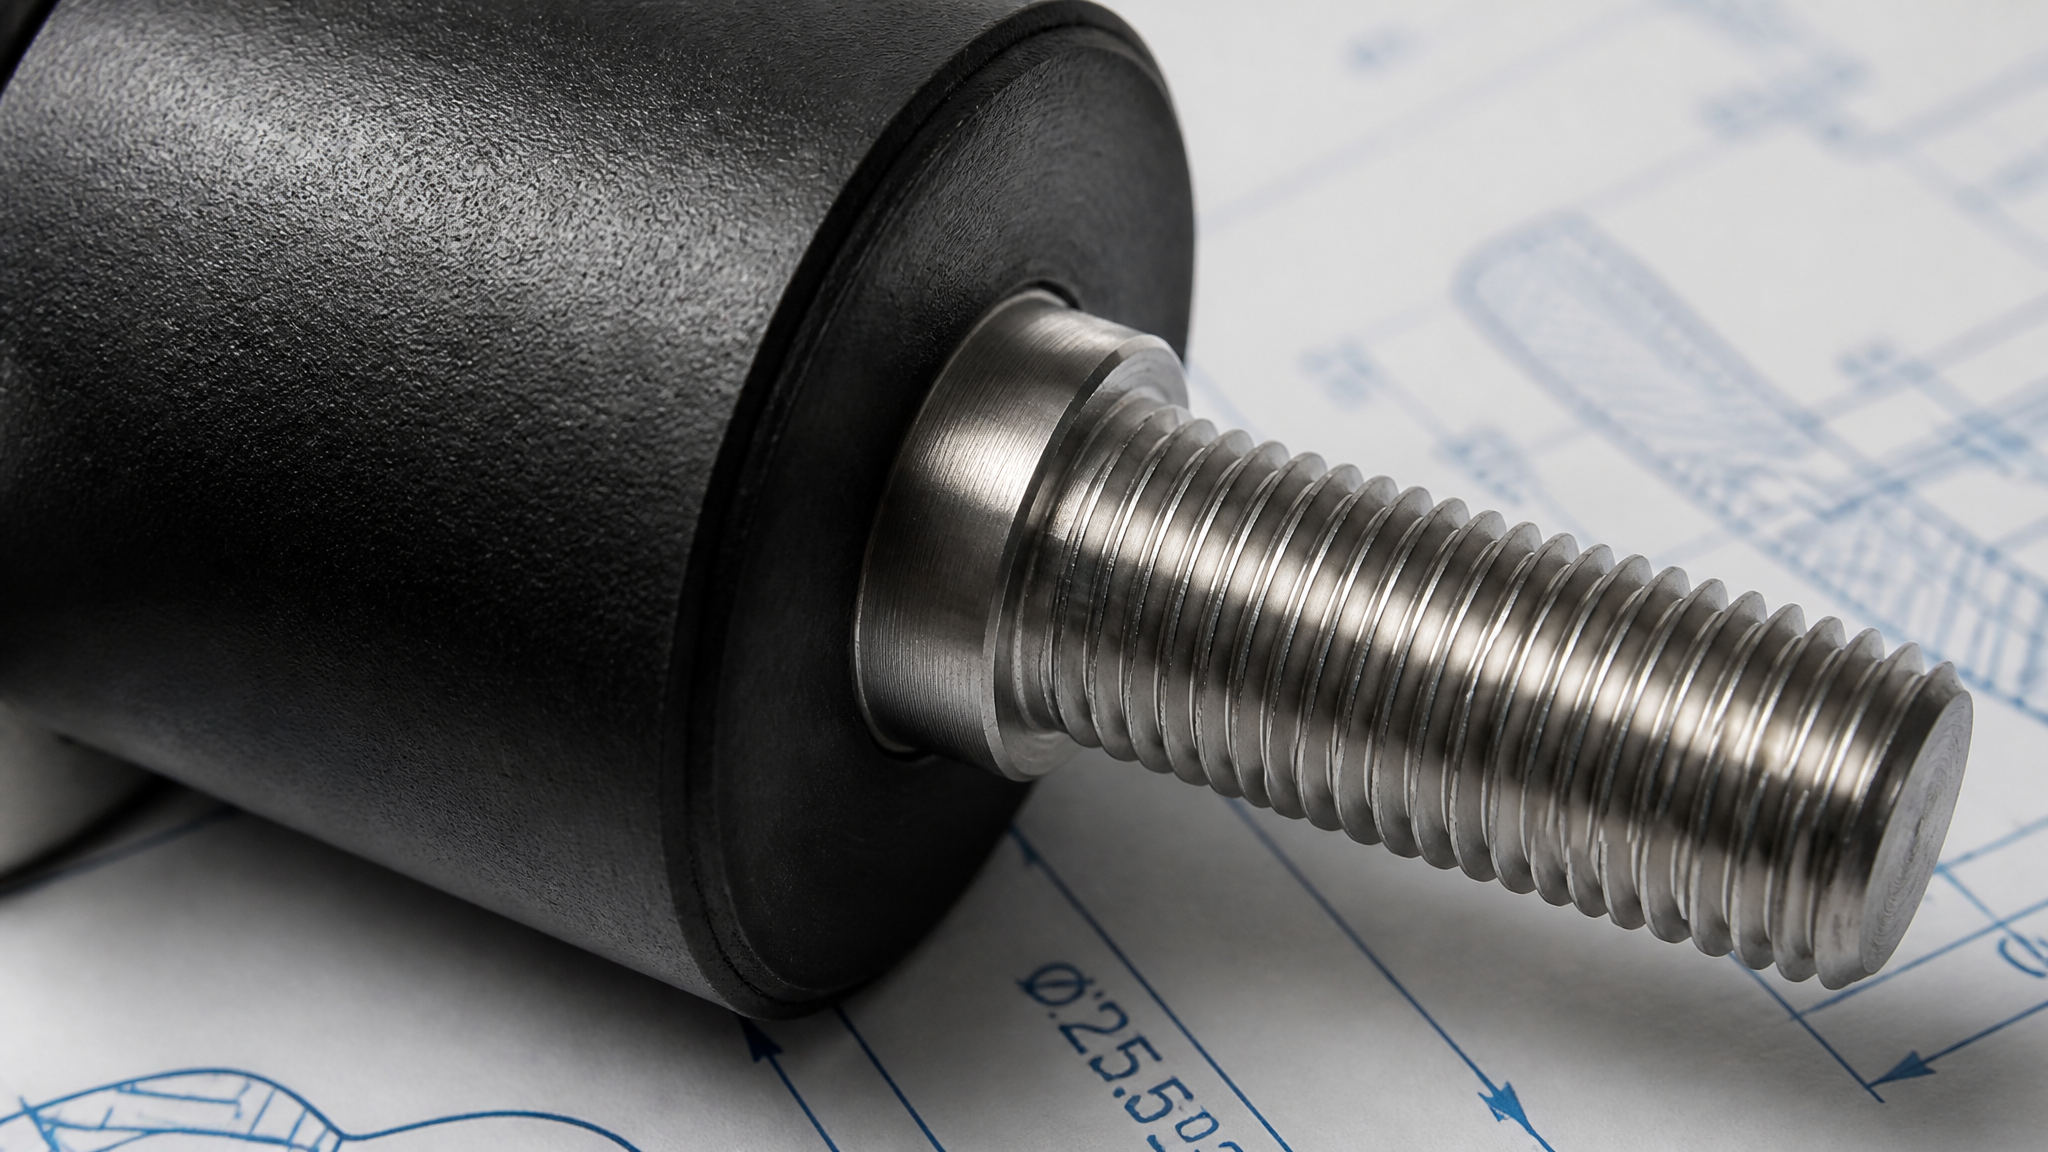
A deep dive into the 3-step preparation process—media blasting, adhesive priming, and vulcanization—required to create a permanent bond between elastomer and substrate. We explore the failure modes of vibration mounts and how proper surface preparation ensures that the rubber tears before the bond fails.
The Ultimate Test: When the Bond Outlasts the Material
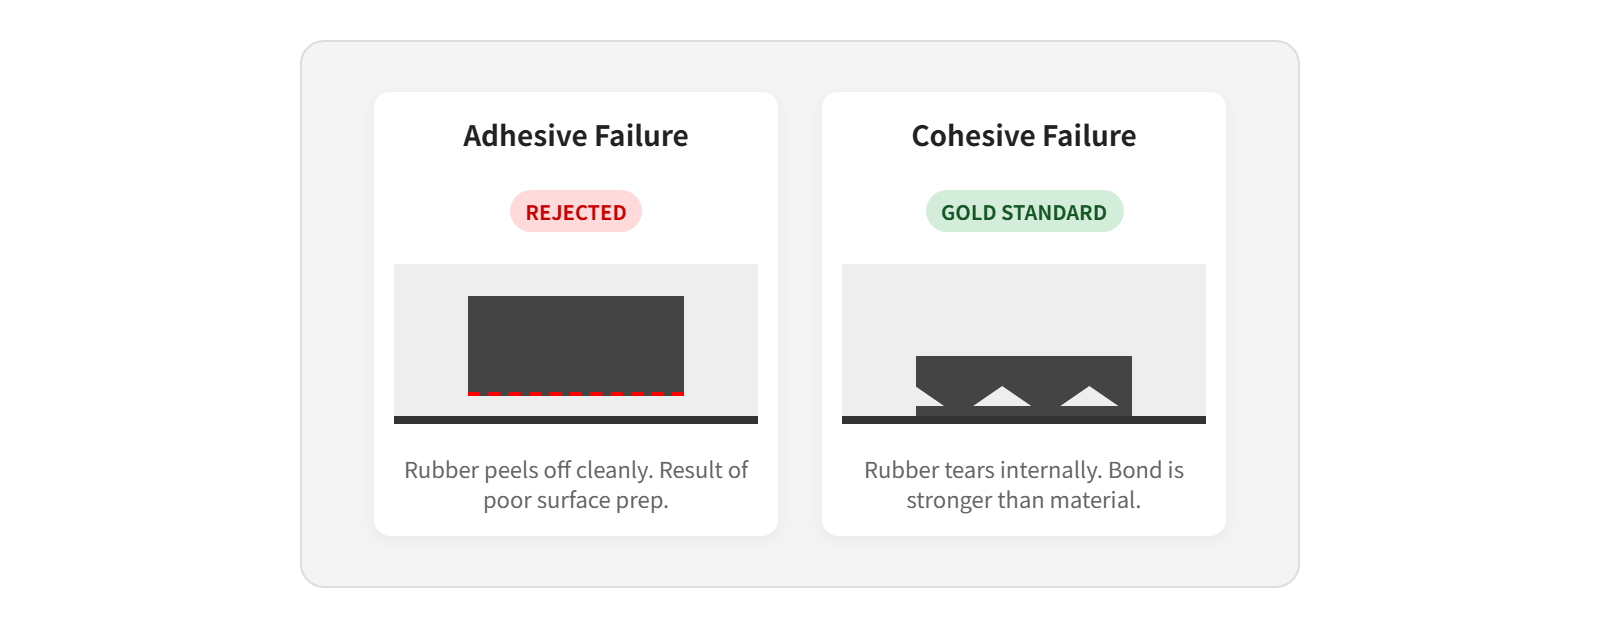
In high-stress applications like engine mounts or industrial dampers, the interface between rubber and metal is the "front line." A common misconception is that a seal or mount fails when the rubber tears. In reality, the most catastrophic failure is Adhesive Failure—where the rubber cleanly peels away from the metal.
Our engineering philosophy is simple: The chemical bond must be stronger than the elastomer itself. If you pull them apart, the rubber should tear (Cohesive Failure) before the bond even budges. Here is the 3-step science behind achieved structural integrity.
1. The 3-Step Preparation: A Molecular Anchor
Creating a permanent bond is not about "glue"; it is about surface engineering. We follow a rigorous 3-stage protocol:
Stage 1: Media Blasting (Mechanical Interlock) We begin by treating the metal substrate with abrasive media (typically grit or bead blasting). This removes oxides and creates a high-surface-area "micro-texture." This textured profile acts as a mechanical anchor, allowing the primer to grip the metal at a microscopic level.
Stage 2: Adhesive Priming (The Chemical Bridge) We apply a specialized two-coat adhesive system. The primer creates a corrosion-resistant barrier on the metal, while the topcoat acts as a chemical bridge that is reactive to the rubber compound during the curing process.
Stage 3: Vulcanization (Molecular Fusion) Inside the mold, under high heat and pressure, a cross-linking reaction occurs. The rubber molecules don't just "sit" on the metal; they weave into the adhesive layer, creating a single, inseparable structural unit.
2. Failure Mode Analysis: Success vs. Failure
To ensure reliability, we analyze the Bond Failure Mode. The goal is always 100% R (Rubber Failure).
3. Applications: Where Integrity Matters Most
Vibration Mounts & Bushings: Constant shear and tension require a bond that won't fatigue over millions of cycles.
Off-Road Pulleys & Rollers: Extreme abrasion and heat expansion stress the interface.
Subsea Seals: High-pressure environments where any delamination leads to immediate leakage and costly deep-sea repairs.
4. Conclusion: The "Zero Leak, Zero Peel" Guarantee
Structural integrity starts at the interface. By mastering the art of surface preparation and vulcanization chemistry, we provide our B2B partners with the confidence that their components will outlast the most demanding environments.
Is your current supplier struggling with bond failure? Request a Bond Strength Analysis & Prototype at whatsapp +86 13356360481
Q: What metals can be bonded to rubber?
A: While Carbon Steel and Aluminum are most common, specialized primers allow for bonding to Stainless Steel, Brass, and even certain high-performance plastics (PEEK).
Q: How does heat affect the bond?
A: A properly vulcanized bond is stable at the same temperature limits as the rubber itself (e.g., up to 200°C for FKM). Failure at high temperatures is usually due to adhesive degradation if the wrong primer is used.